How to Waterproof Your Lighting Project
Waterproofing your lighting project is key to maintaining its longevity and avoiding costly repairs down the line. There are several waterproofing solutions available to you, and the best method will depend on the type of light fixtures you have and how they’re situated. In this article, we will tell you exactly how to waterproof your lighting project.
What Needs to Be Waterproofed?
The first step in waterproofing your lighting project is determining which part(s) of the project need to be protected from water.
You’ll want to focus on the following:
- Any exposed wire connections
- The light fitting (the portion of the light that sits against the outer wall of your home).
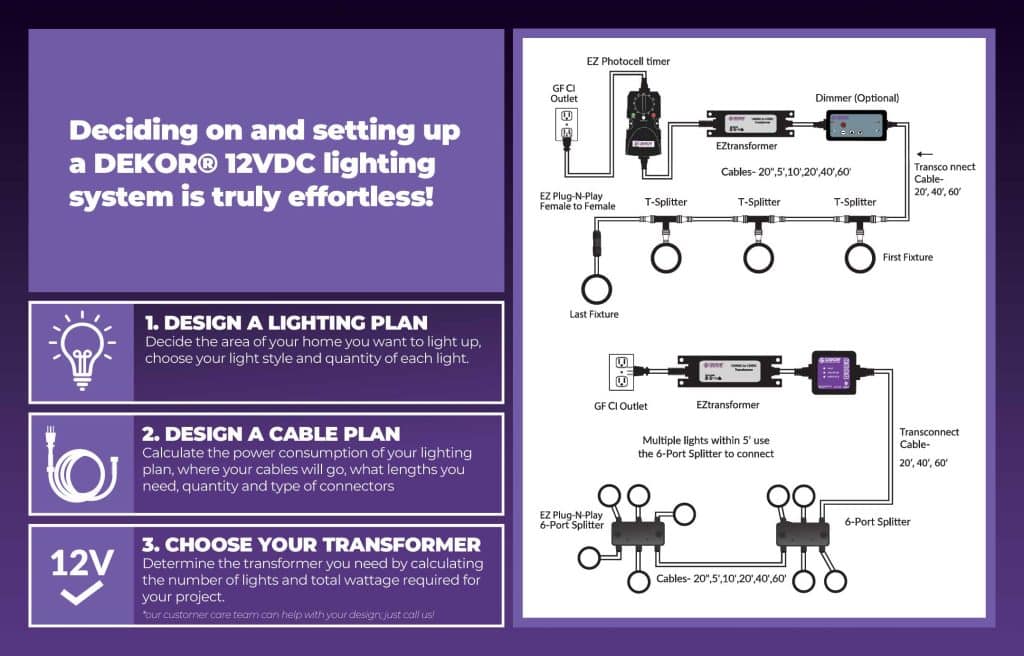
- Your transformer and controller
Depending on your lighting setup, you may need to address more than one of the items in the above list.
4 Ways to Waterproof Your Lighting Project
When it comes to waterproofing outdoor lighting projects, you have several options. And choosing the right one can be the difference between your lights lasting for years or failing prematurely. We’ll go through the four main types of waterproofing solutions for lighting projects in this section:

EZ Enclosure Kit for Transformers
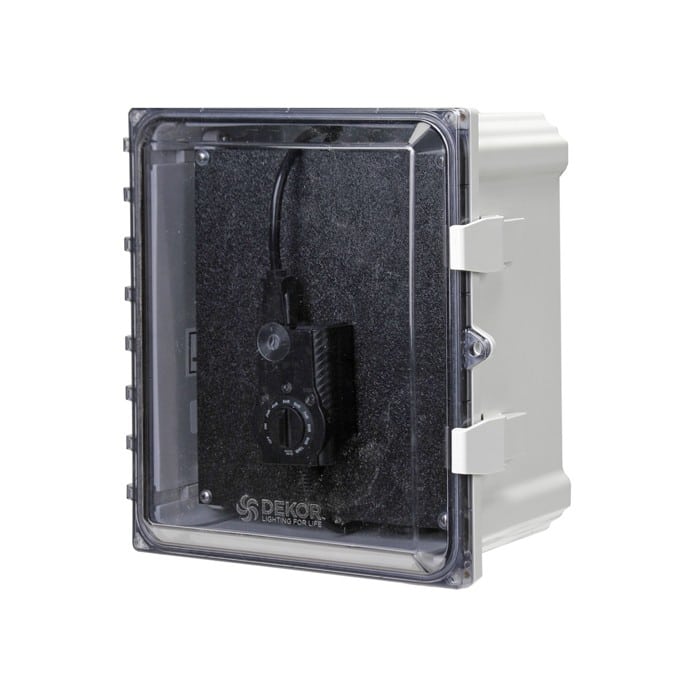
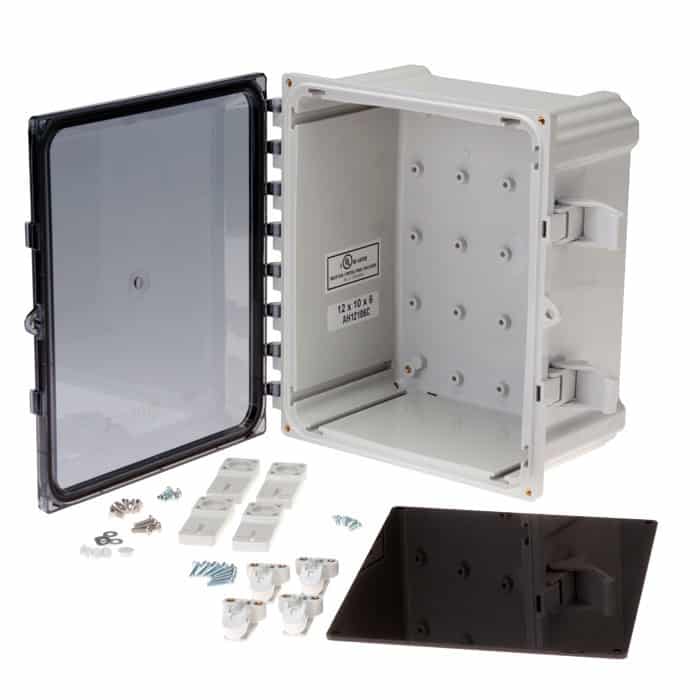
With low-voltage lighting, you’ll typically need a transformer. And if you don’t keep it dry, your lights won’t stand a chance. To waterproof your transformer and controllers, you’ll need an EZ enclosure kit, which is a convenient polycarbonate storage box. It’s completely water-tight and will accommodate your transformers and controllers. To mount your enclosure kit, you’ll need to follow these instructions from the manufacturer, DEKOR.
Waterproof Cord Covers

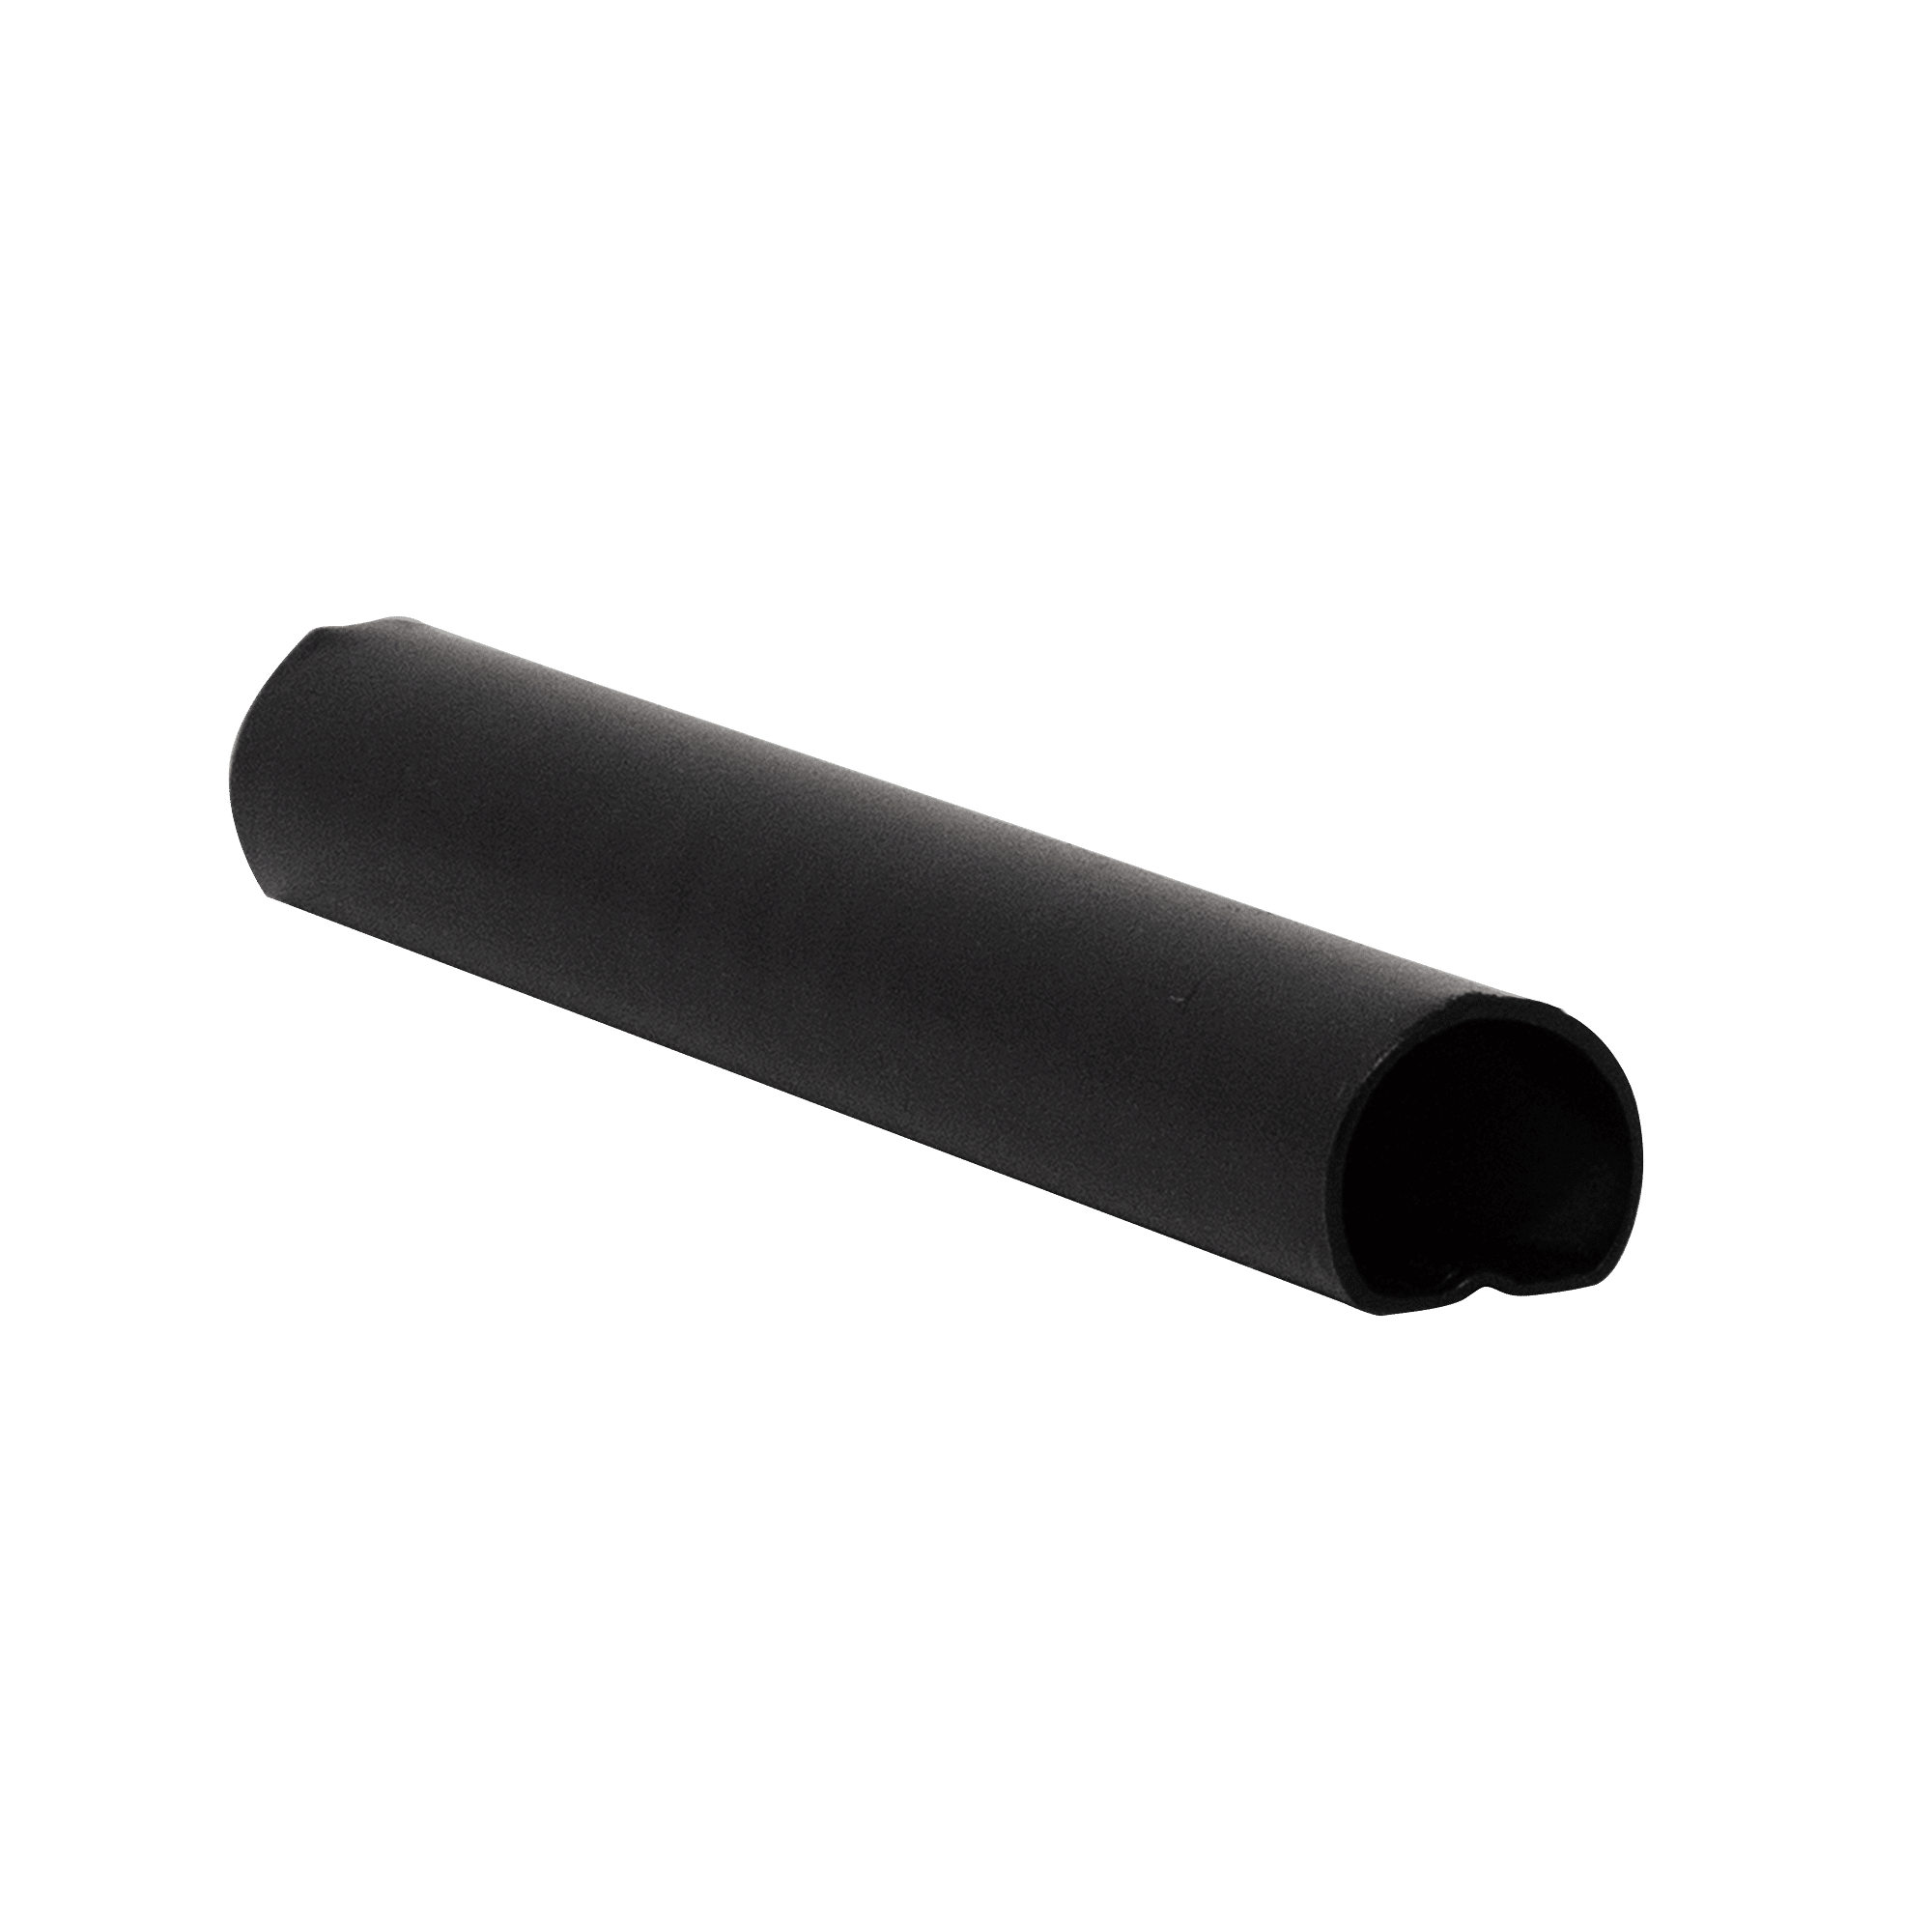
Cord safety covers are another solution you can use to waterproof your outdoor light fixtures. They are plastic covers that fit over any exposed wire connections and snap closed to protect them from the rain.
How to Use Waterproof Cord Covers
Waterproof cord covers are very straightforward to use. All you do is place two connected wires inside the safety cover. It’ll keep water out so you can enjoy your light fixtures without worry. You may need many of them to protect all of your fixtures.
Silicone Caulk
Silicone caulk is a great option for outdoor light fittings that are attached to your home’s exterior. This type of sealant is easy to apply and can provide a high level of protection against water damage. Silicone sealant is available in clear and white versions – choose the one that best matches your project’s aesthetic.
How to Waterproof Your Lighting Project with Silicone Sealant
To waterproof your lighting project with silicone sealant, here are the steps you
should take:
- Begin by using a damp towel to clean the exterior surface of the light fitting.
- Grab your caulk and cut off the end of the container to open it. Be sure to do so at a 45° angle.
- Start to apply the caulk around the light fixture on each side as well as the top. Avoid caulking the underside of the fixture. You need to leave a small area untreated so that moisture from inside the home can escape.
- Smooth the caulk around the fixture with a caulk smoothing tool or your wet finger, and then allow it to dry.
Note: Silicone sealant can be difficult to remove if you ever need to move your light fixtures, and it is not recommended for use on metal surfaces.
Waterproofing Tape
Tape is a foolproof way to waterproof your lights. But not just any tape – you need specialized waterproofing tape. While it’s not as durable as silicone, it’s easy to apply and remove.
How to Waterproof Your Lighting Project with Tape
To waterproof your lighting project with tape, simply apply a few layers of tape around the perimeter of each light fitting. Make sure that the edges of the tape are firmly adhered to both the fixture and the wall behind it, or water can and will get in. You can also wrap the tape around any wire connections that may be exposed to water.
How to Choose the Right Waterproofing Solution
Choosing the right waterproofing solution is essential if you want your lights to remain dry. Here are some tips to help you choose:
- If your light is attached to the exterior wall of your house without any outside connections, choose caulk or tape.
- If your light is in an area that’s susceptible to super heavy rain on a regular basis, you’ll need an extra durable waterproofing solution. Opt for either caulk or waterproof cord covers.
- If you suspect that you’ll be replacing or moving your lights anytime soon, stay away from silicone caulk. It’s notoriously difficult to remove cleanly.
- If you have a transformer, use the EZ Enclosure Kit.
Tips and Tricks for Waterproofing Your Lighting Project
To get the most out of your lights, it’s so important to get the waterproofing step right.
Here are a few tips and tricks to help you do it right the first time:
- Always clean the surface of your light fittings before applying any waterproofing tape or caulk. This will help the solution to adhere better and provide a longer-lasting seal.
- If you’re using tape to waterproof your light fixtures, press the edges of the tape down firmly. This will prevent water from seeping in around the edges of the tape.
- Always allow the sealant or tape to dry completely before exposing it to the elements.
Whether you choose to use tape, caulk, cord safety covers, or an EZ Enclosure kit, you can rest assured that your lights will be protected. We hope that you found this article helpful, and we wish you the best as you take your home’s lighting and safety up a notch.


