Free Shipping on All Orders Over $50
Light dimmers are incredibly useful in both indoor and outdoor contexts. Inside, dimmer switches allow you to adjust lighting depending on how bright the natural light is in a room at any given moment. Outside, waterproof dimmers with remote controls are perfect for setting the mood for any outdoor living space.
There are two primary types of dimmers we’ll explore in this article: dimmers with remote controls and dimmer switches. Dimmers with remote controls are particularly convenient outside because you can control them from a distance, although they can be used in indoor applications as well. Dimmer switches look like traditional light switches but include dimming functionality, which allows you to adjust your light brightness simply by pressing on the switch.
Despite what you might think, it’s not difficult to install dimmers and switches, especially the ones offered by DEKOR®. In the following sections, we’ll walk through exactly how to install the two types of dimmers mentioned above.

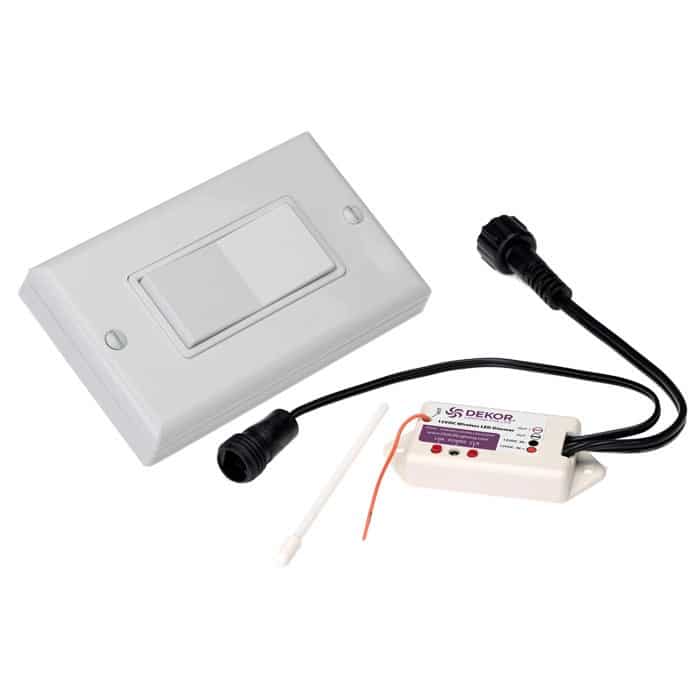
If you want dimmable indoor lighting, installing dimmer switches is the best and easiest way to get it. DEKOR®’s EZ Wireless Dimmer Switch is a convenient wireless wall switch, available as a kit with a receiver included or just the switch.
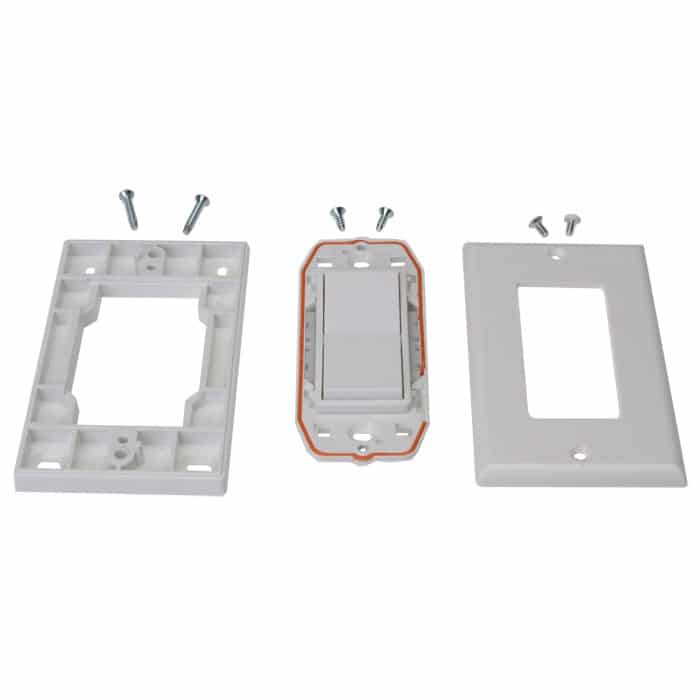
And yes, you read that right: this dimmer switch is wireless. No complicated wiring set-ups here: just screw the switch to an existing junction box or nearly any wall surface. You’ll need the receiver to operate the switch; it connects to a transformer with a cable, then plugs into an outlet. The receiver is teachable, so you can control your dimming settings.

Follow these steps to install and wall mount the light switch.
There are two parts to the installation process for dimmer switches because your dimmer won’t work without a properly installed receiver. The receiver allows you to teach your dimmer switch your preferred settings. Follow these steps to install the receiver.

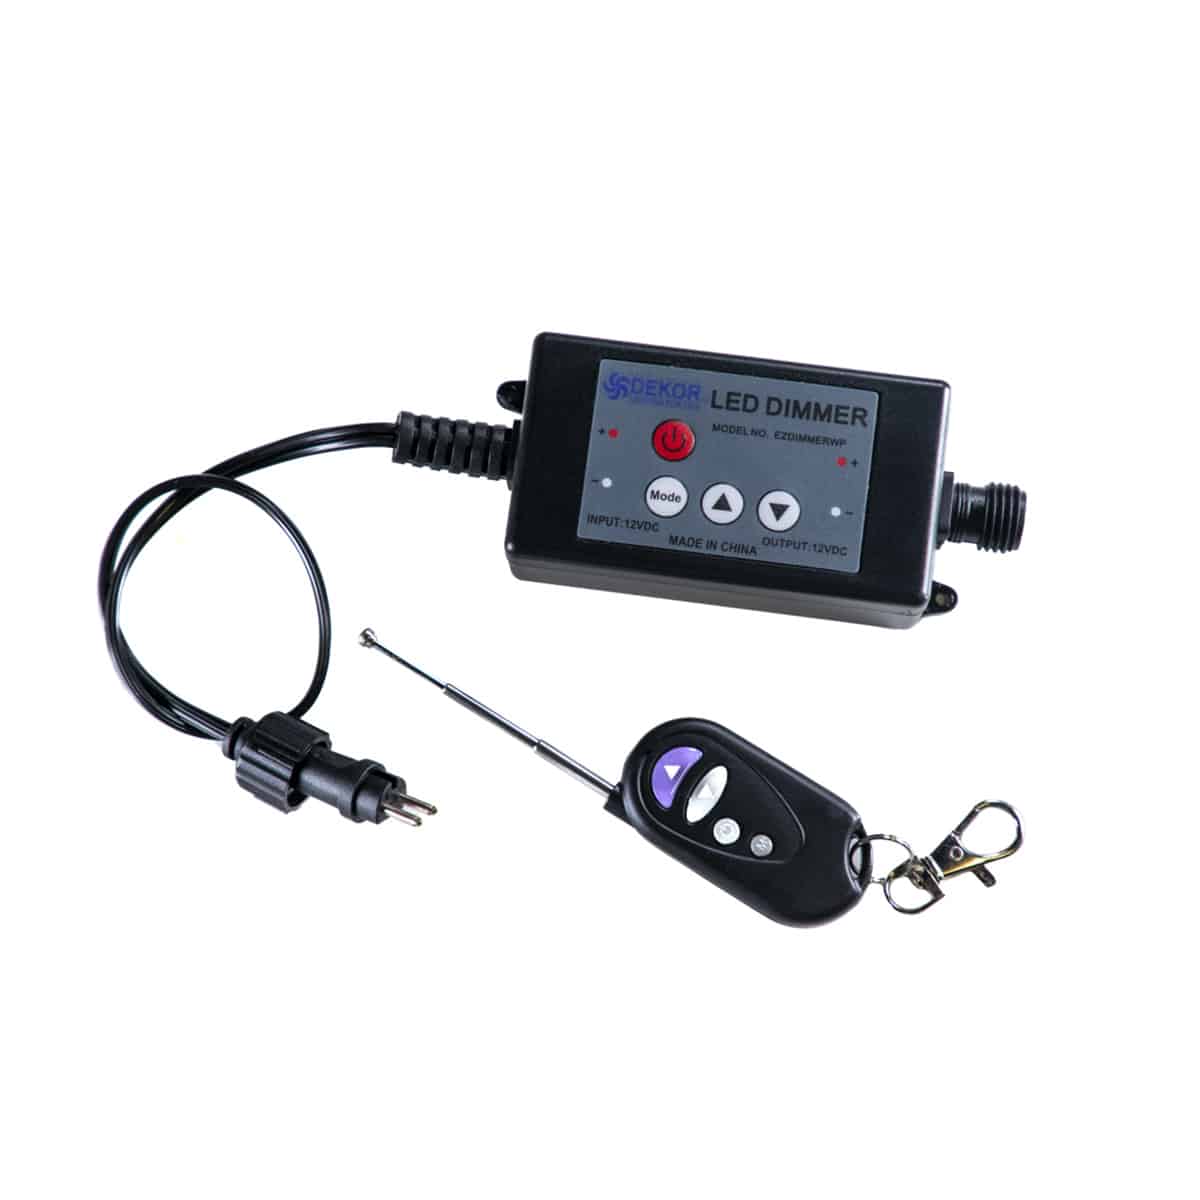
(Alt text: DEKOR® EZ Waterproof Low Voltage / LED Dimmer with Teachable Remote)
If you’re looking for an easy-to-install dimmer that doesn’t require a light switch, the EZ Waterproof Dimmer with a Teachable Remote is ideal for outdoor use. DEKOR® also offers a dimmer with a remote designed specifically for indoor use.
Installing remote control dimmers is often just a matter of connecting the dimmer to your lights and a power supply. Let’s walk through the instructions for installing the EZ Waterproof Dimmer, including how to program the teachable remote. This is assuming you already have your DEKOR® lights selected and ready to plug into the power supply.
To teach the remote:
It’s never been easier to install dimmable and adjustable lighting. All of the dimmers mentioned in this article can be installed in minutes by anyone: no need for a lighting professional to come into your home. For DEKOR®’s full selection of dimmers, switches, timers, and other accessories, see our offerings here.
And if you’re looking for a way to control the lights in your house remotely, our DEKORKONNECT™ WiFi Light Controller is the perfect solution. Create zones, set schedules, and dim your lights all from the Bond Home app on your phone.
2655 S. Santa Fe Unit 4-A
Denver, CO 80223 USA
Toll Free: 1-800-258-0344
