Free Shipping on All Orders Over $50

So, you’re on a journey to brighten up your landscaping. If you’ve already chosen which fixtures you’d like to add to your landscape lighting plan, it’s time to start thinking about installation. DIY installation may seem overwhelming at first glance, but we have put together a guide with simple steps to install some of DEKOR’s most popular path lights.
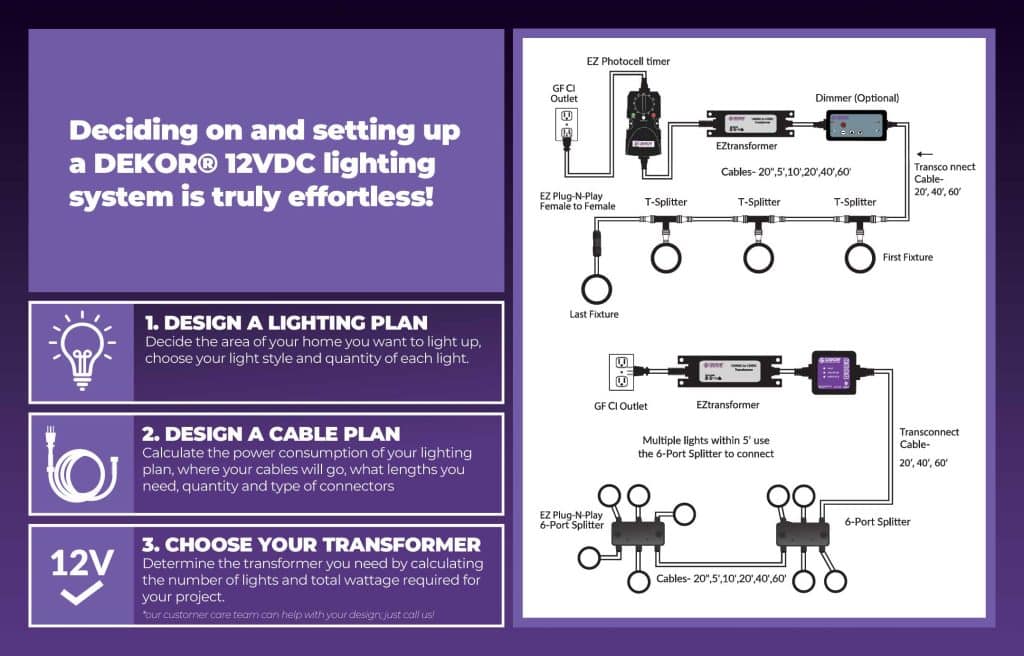
Note that there are some basic materials you will need for any lighting installation job, including a low-voltage transformer, cables, connectors, and the lights themselves. DEKOR’s lighting kits come with all of the materials required to get the job done. You may also need tools to ensure your lights are securely installed and your wires are sufficiently buried, like a mallet, a drill, or a shovel. We break down exactly what is needed for each type of light below.
Finally, before you get started, identify where the power sources and outlets are located in your yard and where you wish to place your lights. You’ll need to make sure that your wires are the correct length, so you can make the appropriate electrical connections to set up your lights.
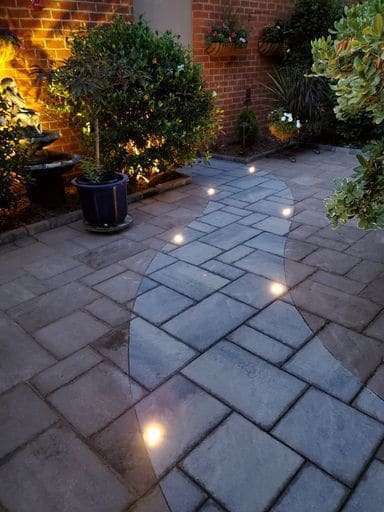
Yard Dots add ground effect lighting in three easy steps: push it in, plug it in and turn it on. This may be a slight oversimplification, but these really are some of the easiest-install offerings from DEKOR.
Yard Dots are available in several different styles and packages, including kits and colored dot lights, and these installation instructions will work for any of them. It may be a good idea to purchase these lights in a kit, especially if you have not installed outdoor lights before, because they come with cables and a transformer.
DEKOR’s team has produced a video installation tutorial for Yard Dots:
And there you go! It really is that easy to bring your outdoor lighting to the next level. Now your driveway or path will be beautifully and safely lit. You will be amazed at the huge difference these small lighting Dots make.
DEKOR offers several other path lighting options, including the Mushroom Pathway Light, the Stepped Mushroom Pathway Light, and the Empress Path Light, all available individually or as kits. While each of these light fixtures is unique, they all have the same installation instructions. You may even want to mix and match combinations of these landscape lights to make the lighting for each walkway its own.
For this installation, you may need some tools if you plan to bury wire or place lights in a hardscape surface, including a drill with a 3/4-inch auger bit and a shovel. You will also need HD wire, Plug-N-Play connectors and/or splitters, and a transformer, all included if you purchase a light kit.
These installation instructions apply to a wide variety of DEKOR lights. For example, our Telescoping LED Spotlight, the Well Uplight, and the Radiance Directional Landscape Light all use the same installation steps. So, if you plan on lighting up other parts of your yard, like a garden, you’ll become an installation master in no time.
2655 S. Santa Fe Unit 4-A
Denver, CO 80223 USA
Toll Free: 1-800-258-0344
