Free Shipping on All Orders Over $50

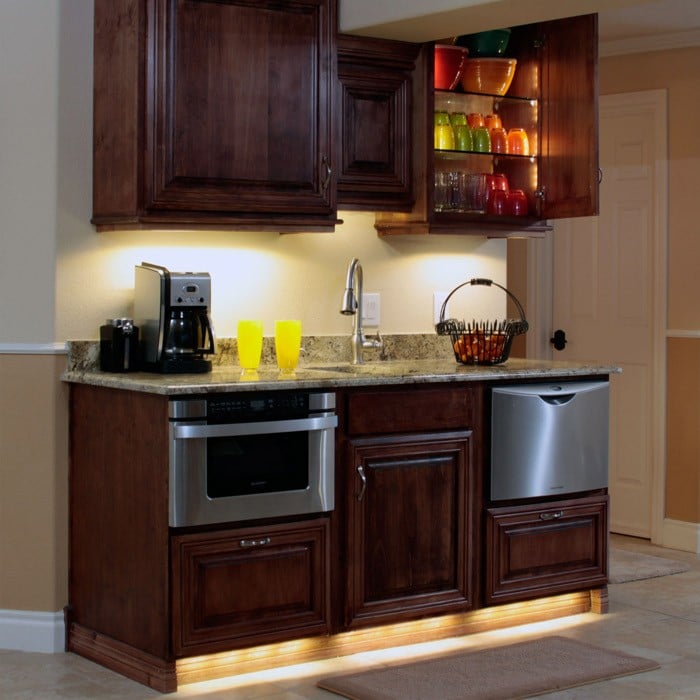
Under cabinet lights are useful in a wide variety of applications. They light up kitchen counters and surfaces. They make it possible to see what you have on your cabinet shelves in the dark. And they’re a great way to add some indoor accent lighting to areas of your home you may not initially think to light up.
There are also a wide variety of fixtures you can use to light the space inside of and below your cabinets. Strip lights are a classic solution. A light bar might also be to your taste if you’re looking for a sturdy light with an adjustable angle. Of course, you can also install disc spot lights, directional spot lights, and other light fixtures to create different under cabinet lighting effects.
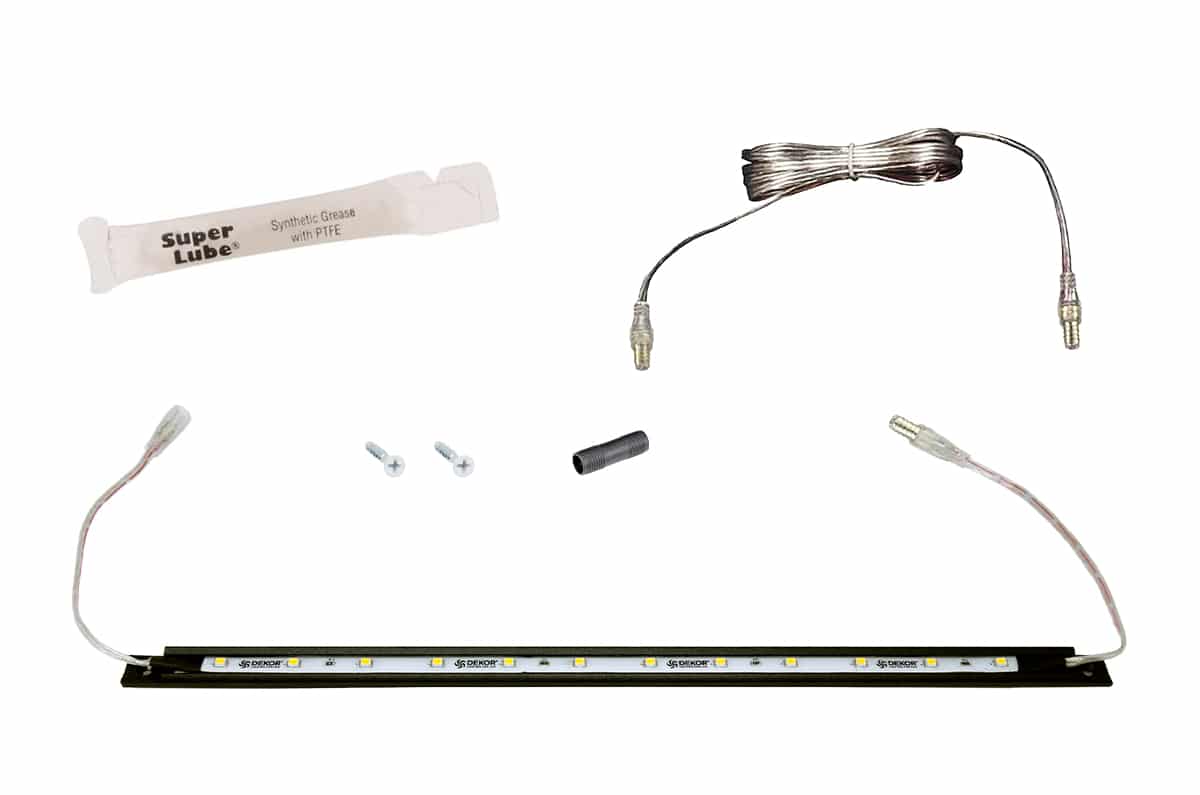
In this article, we’ll focus on two of DEKOR®’s most popular under cabinet lighting products: the NOSEEEM Strip Lights and our Under Cabinet LED Light Bars. We’ll walk through installation instructions for each product, step-by-step. You’ll quickly see how easy it is to install your own under cabinet lighting.

The versatile NOSEEEM Strip Light can be used in a number of applications. Here, we’ll talk about installing it under cabinets, but you can also install it inside cabinets, on top of cabinets, on steps, on the underside of stone caps, indoors, outdoors, you name it. Follow these steps to install strip lights under your cabinets.
If you’re more of a visual learner, watch this installation video for DEKOR NOSEEEM LEDs.

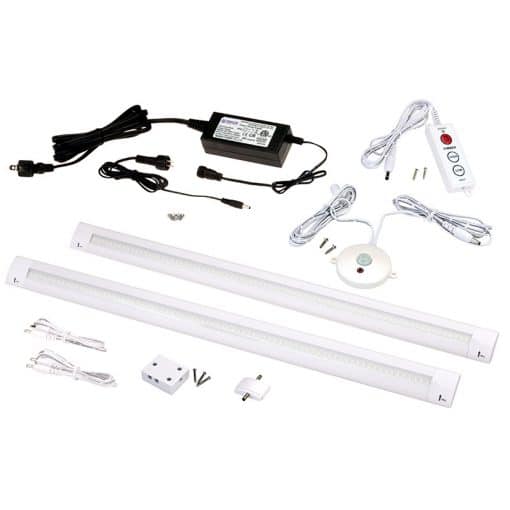
Light Bars are another classic option for under cabinet lighting. While they can’t be customized quite as easy as strip lights to fit unique lengths and small spaces, they do come in a variety of different sizes. DEKOR® sells light bars in both 12″ and 20″ sizes, both available for individual purchase and in kits.
Follow the next steps to install your light bar under a cabinet.
DEKOR® is the best option for your under cabinet lighting needs. Our LEDs are perfectly suited for indoor use: you will be amazed by the cabinet lighting projects you’ll be able to complete with our products. We offer not just strip and light bars, but also spot lights, disc lights, and more.
2655 S. Santa Fe Unit 4-A
Denver, CO 80223 USA
Toll Free: 1-800-258-0344
