Landscape lighting can transform your outdoor space, enhancing its beauty and functionality. Properly planned and executed, it can highlight architectural features, create a welcoming ambiance, and improve security. In this guide, we’ll walk you through the process of laying out landscape lighting, using high-quality products from DEKOR® Lighting to achieve stunning results.
 Step 1: Plan Your Layout
Before purchasing any lights, take the time to plan your layout meticulously. Start by walking around your property at night with a flashlight to visualize how different areas will look when illuminated. Consider the following:
Purpose: Determine the primary purpose of your landscape lighting. Are you looking to highlight architectural features, illuminate pathways for safety, or create a cozy outdoor living space?
Focal Points: Identify key focal points in your landscape that you want to highlight, such as trees, statues, water features, or architectural elements.
Balance: Aim for a balanced lighting scheme that avoids overly bright spots and dark areas. Use a mix of different lighting types to create depth and interest.
Step 2: Choose the Right Fixtures
Selecting the appropriate fixtures is crucial for achieving the desired effect. DEKOR® Lighting offers a range of high-quality LED landscape lighting products designed for various applications.
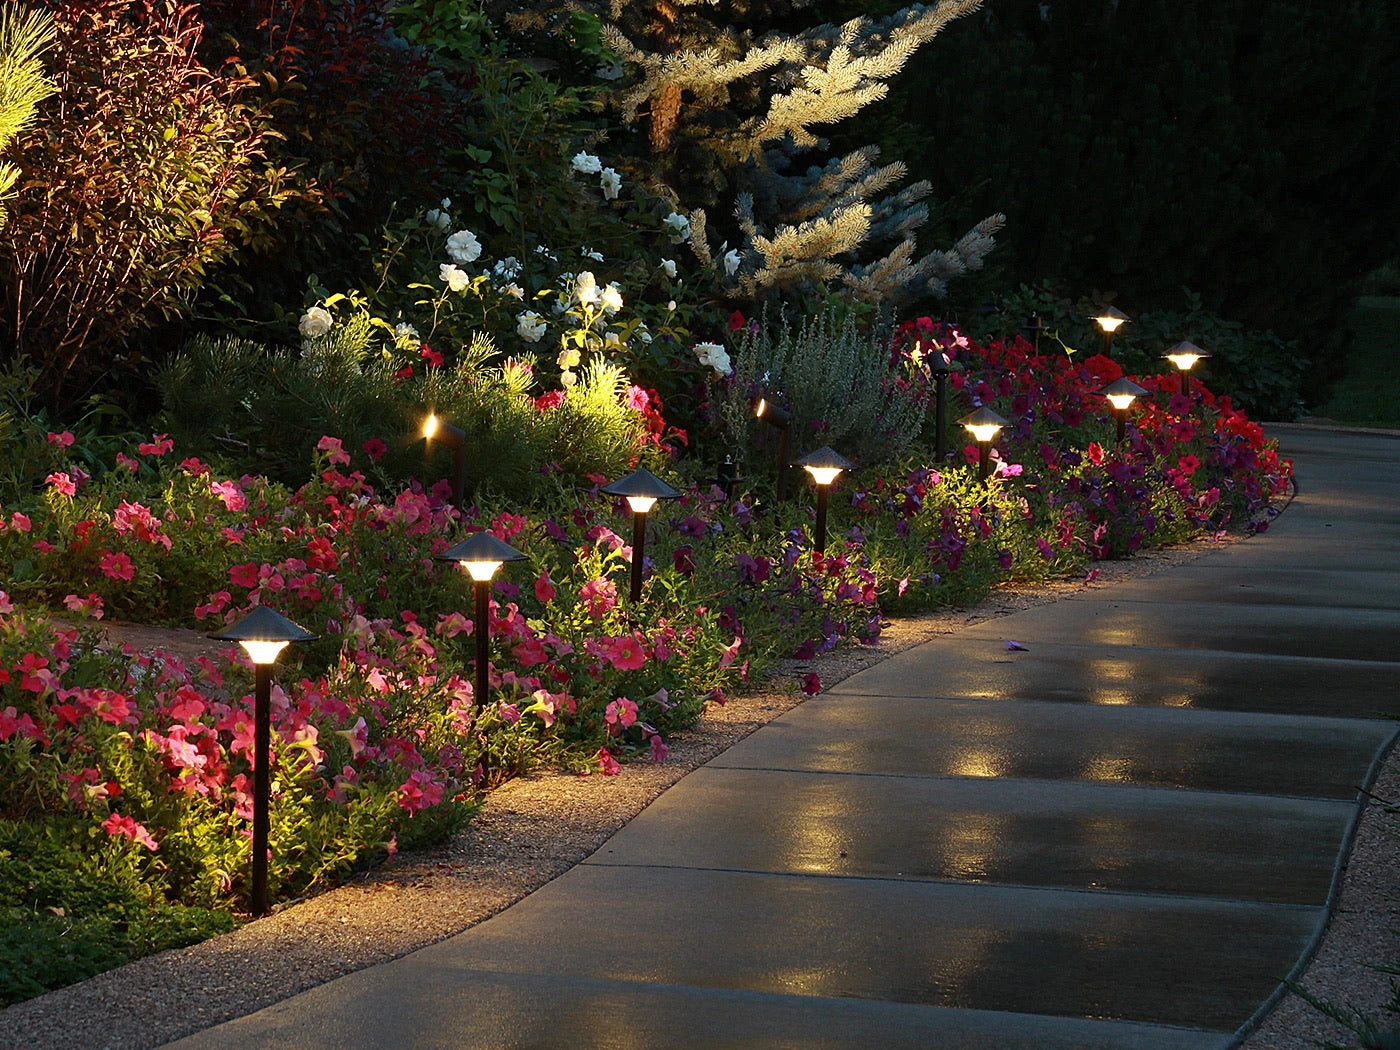
Path Lights
Path lights are essential for illuminating walkways, driveways, and garden paths. They not only enhance safety but also add a charming touch to your landscape. DEKOR®’s LED Pathway Lights are perfect for this purpose. They provide soft, diffused lighting that creates a warm and inviting atmosphere.
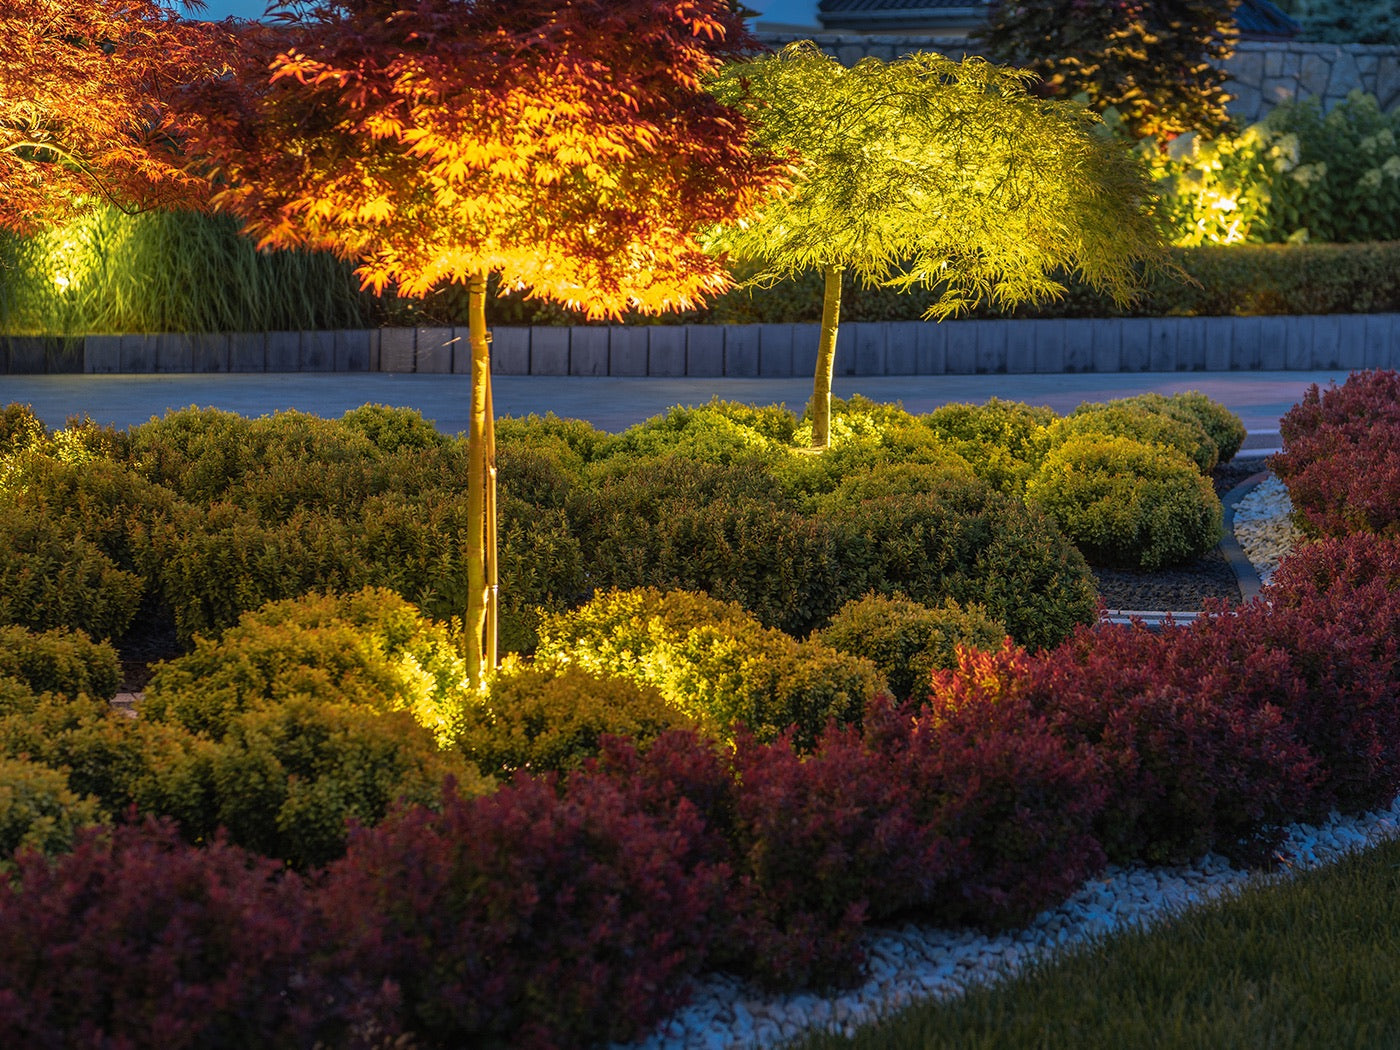
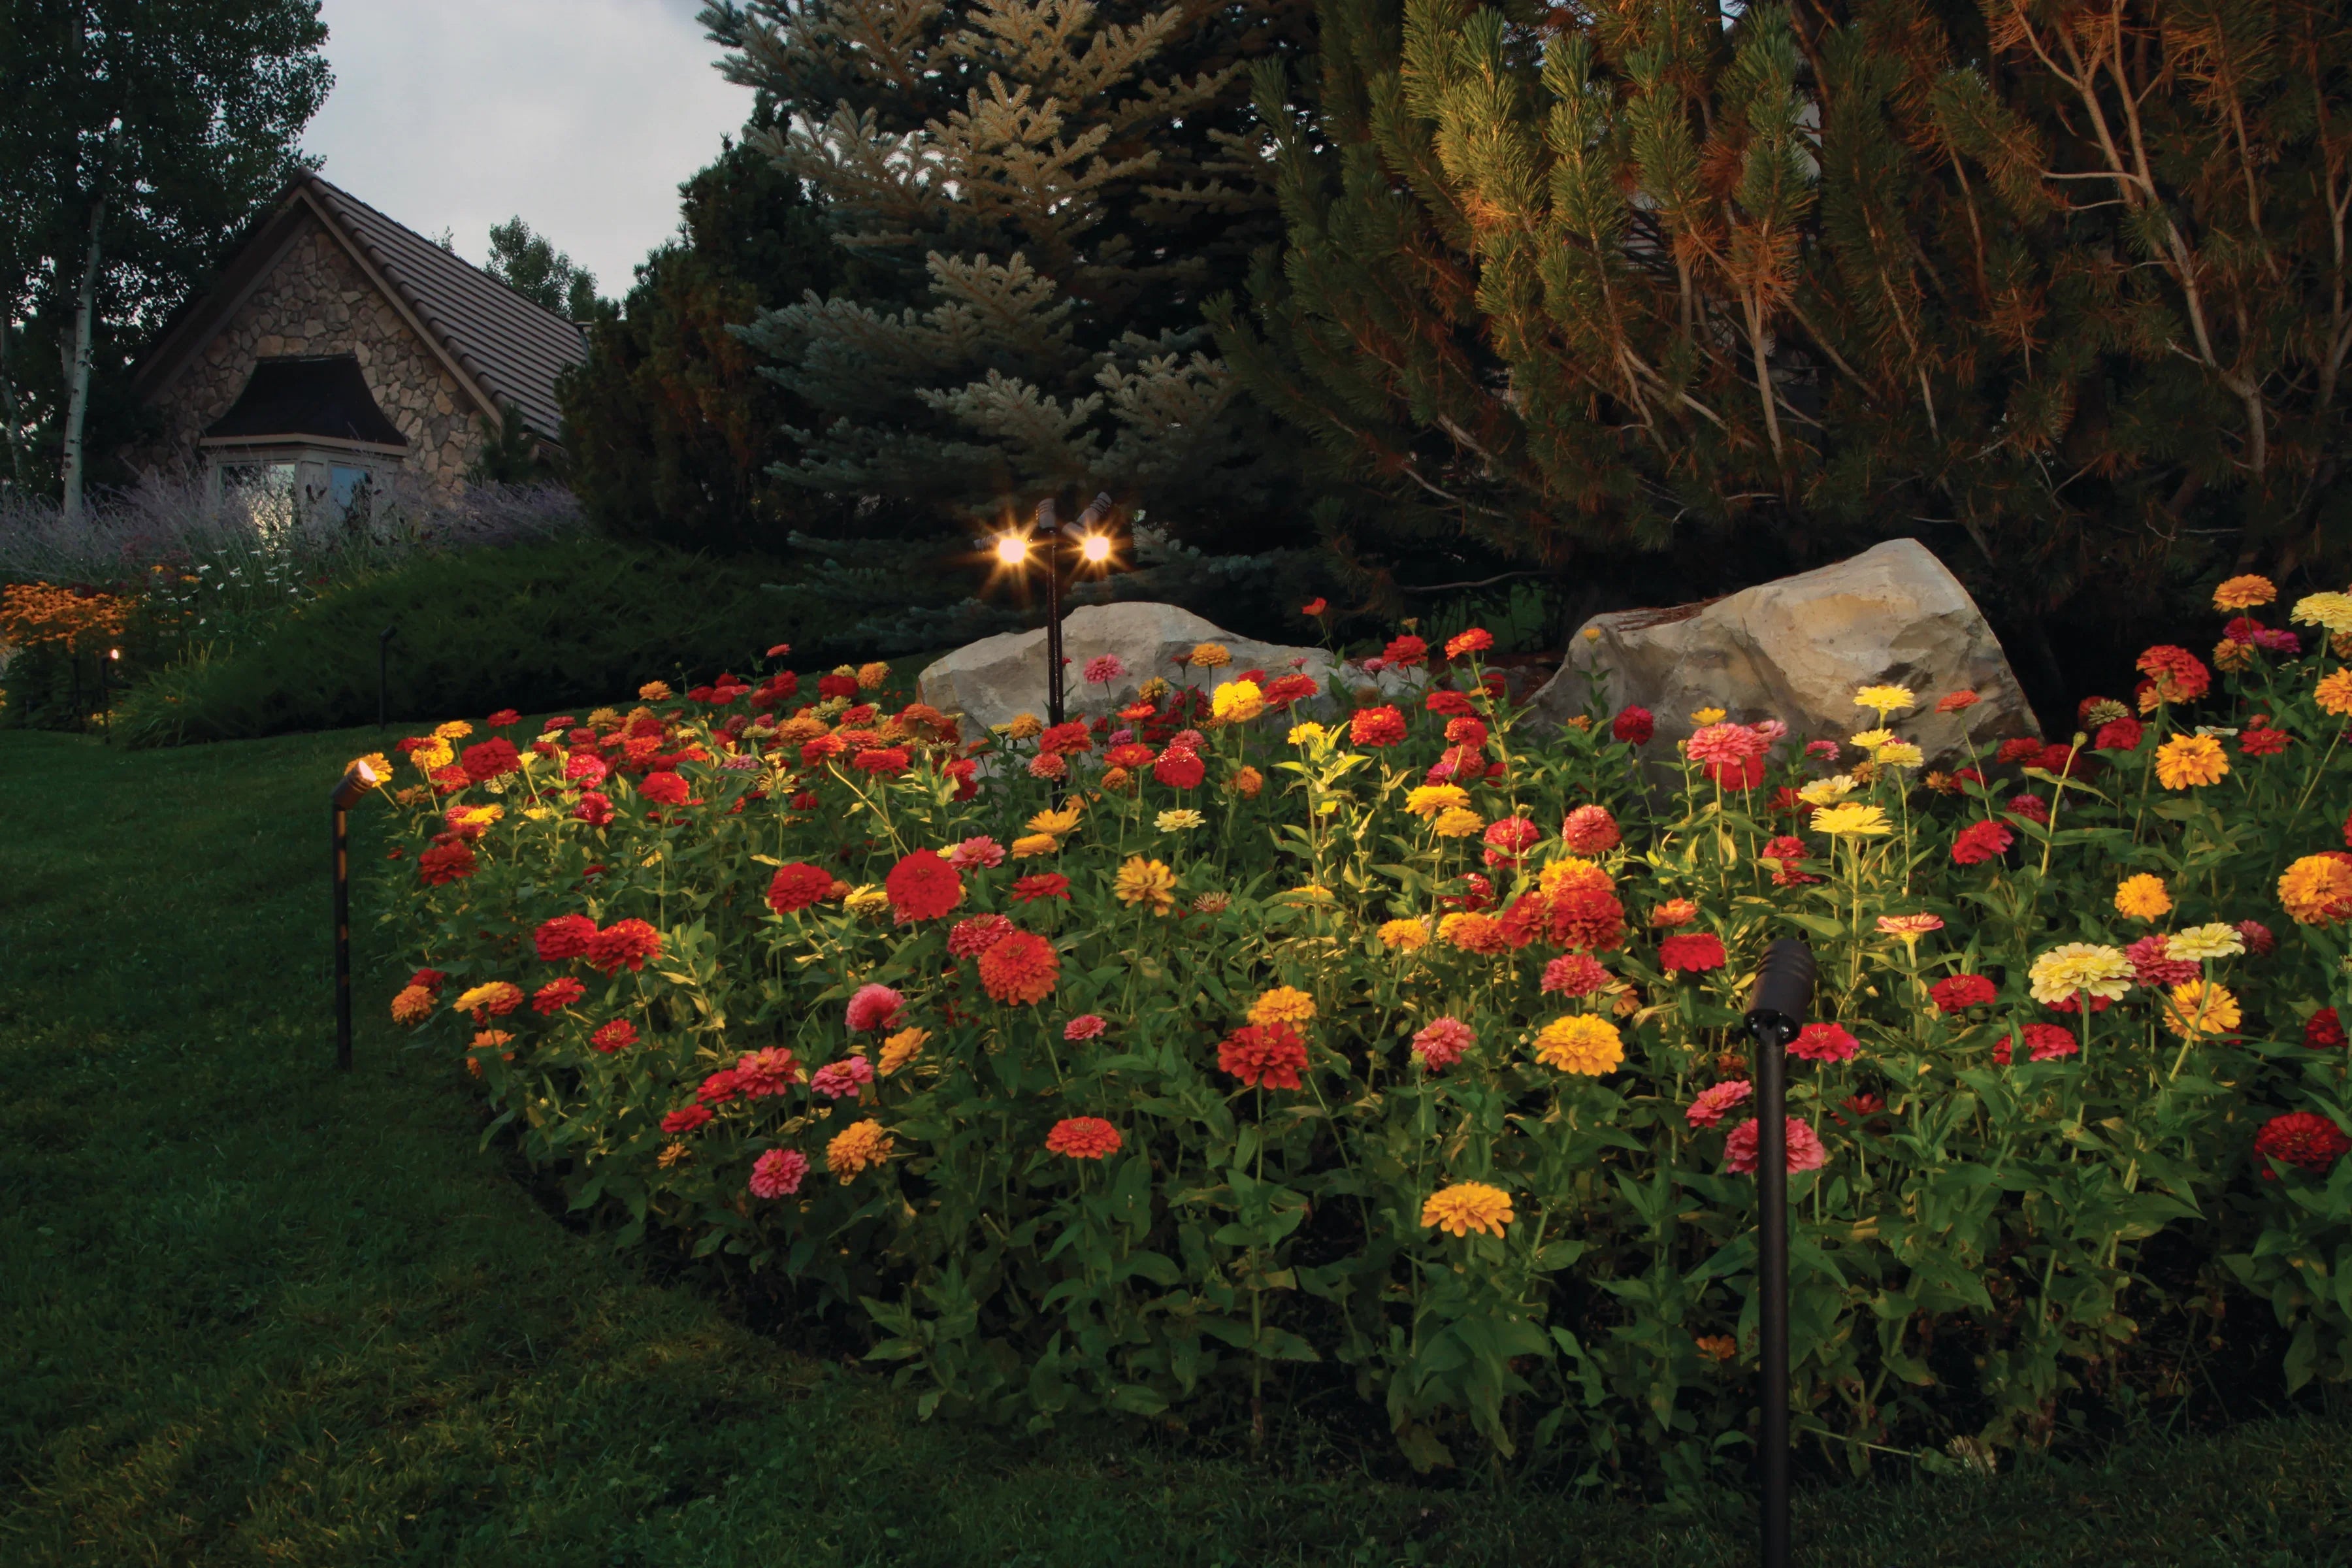
Spotlights
Spotlights are ideal for highlighting specific features such as trees, sculptures, and architectural details. DEKOR®’s High Output LED Landscape Spotlight offers powerful, focused illumination with adjustable heads, allowing you to direct the light exactly where you need it.
Flood Lights
Flood lights are excellent for providing broad, even illumination over larger areas. They are perfect for lighting up large trees, garden beds, and the exterior of your home.
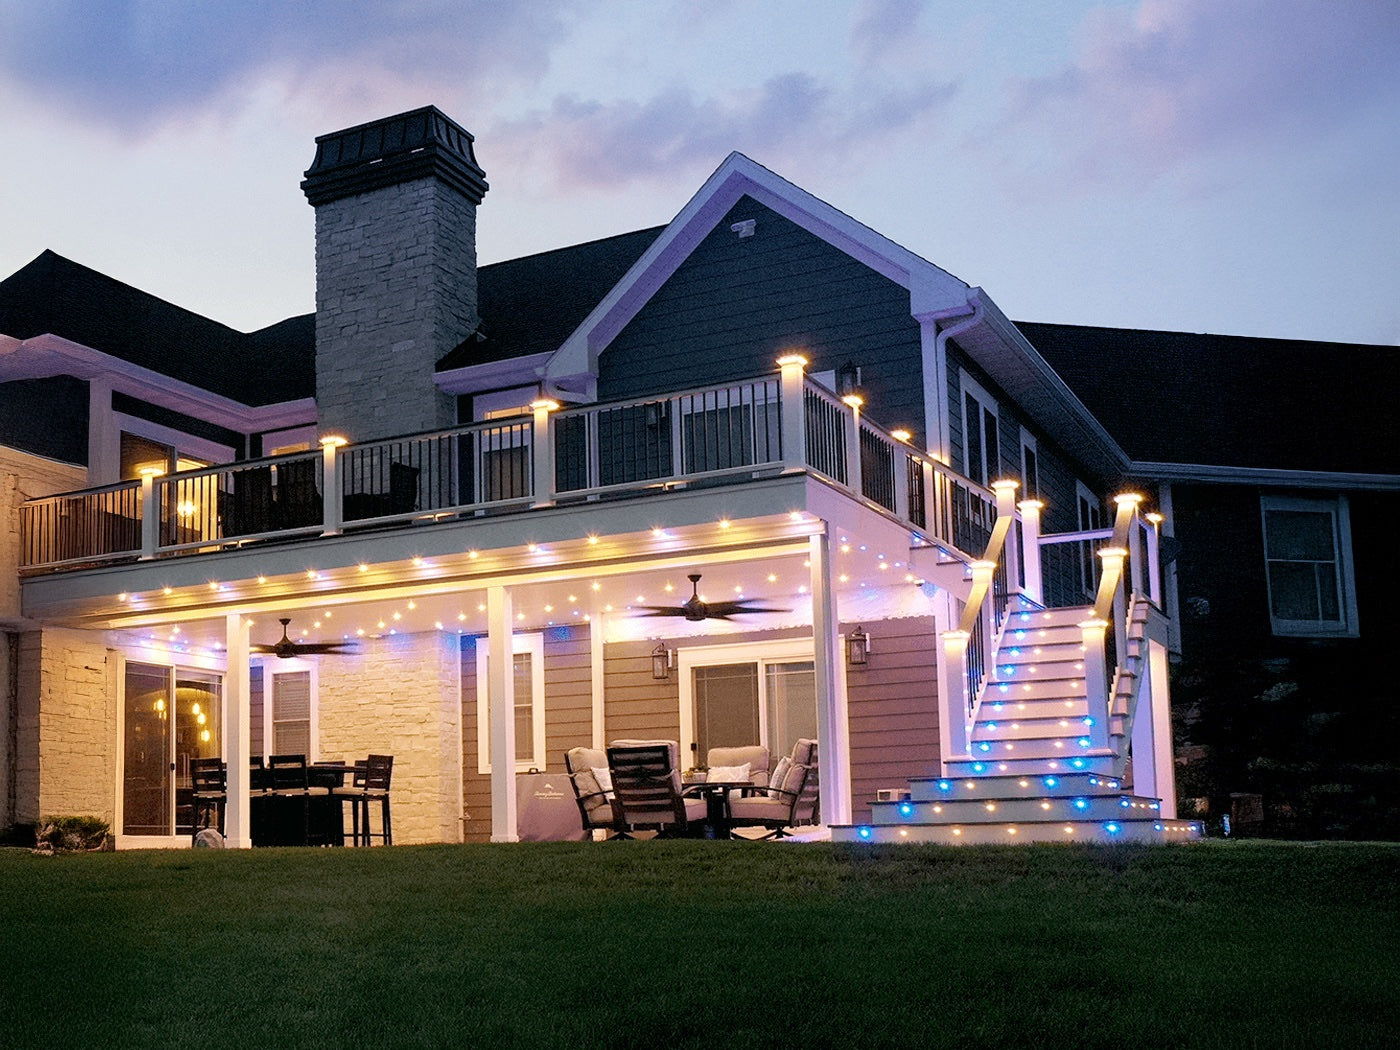
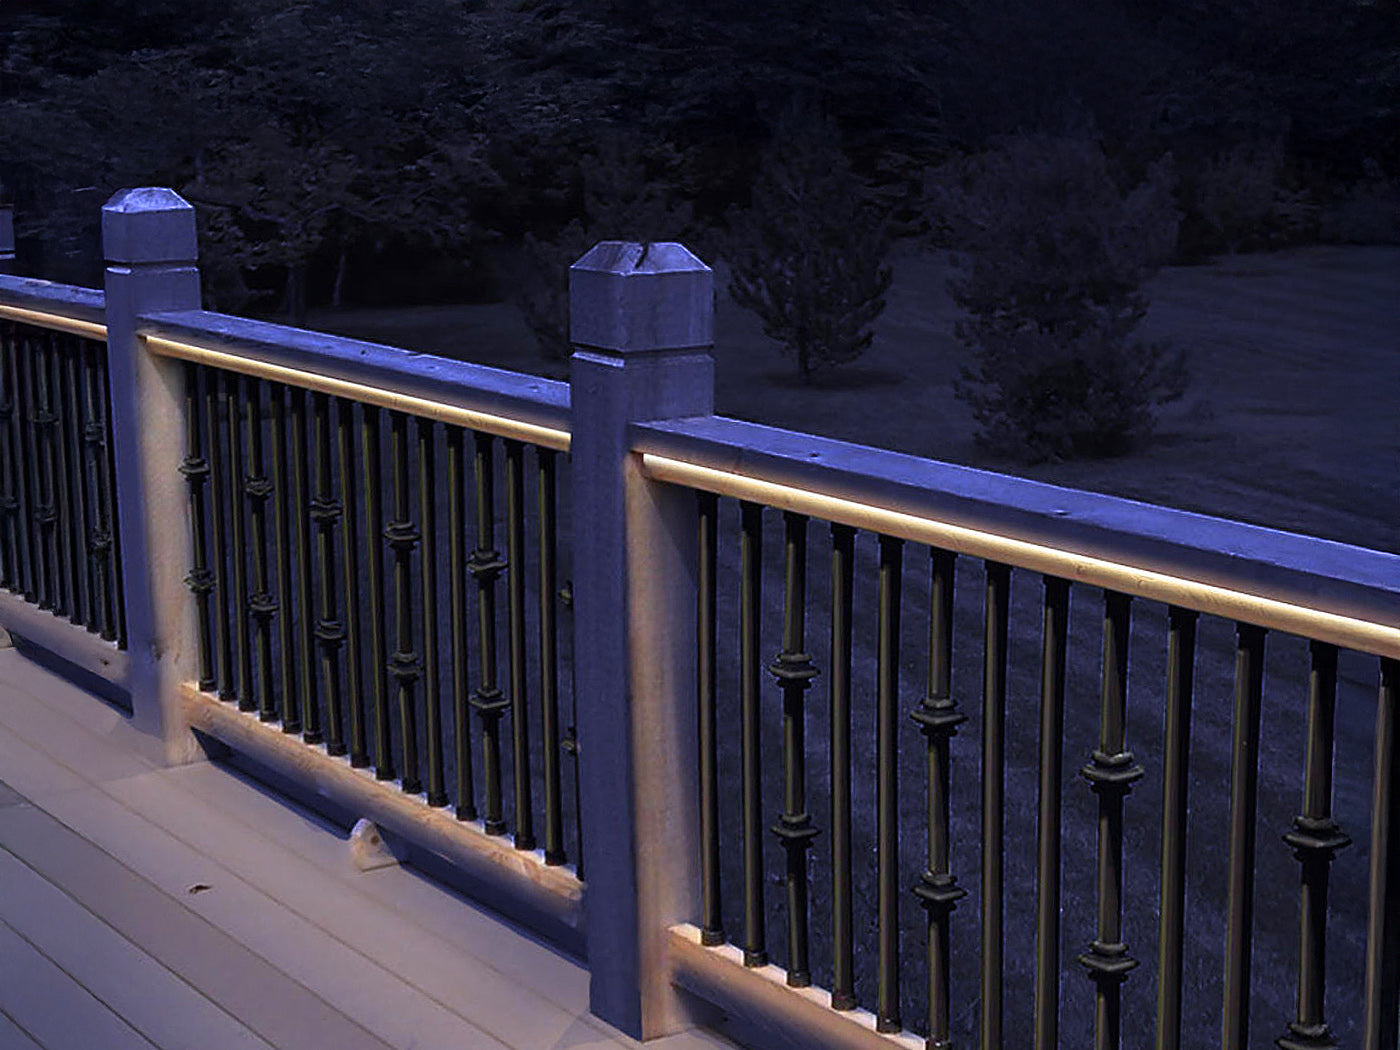
Deck and Step Lights
For decks, patios, and staircases, deck and step lights are a must. They improve safety by illuminating potential trip hazards while adding a stylish touch. DEKOR®’s Recessed Stair LED Lights with Faceplates and the Decorative Recessed Stair Lights are sleek and unobtrusive, providing just the right amount of light.
Step 3: Determine Placement
Once you’ve selected your fixtures, it’s time to determine their placement. Here are some tips for positioning your landscape lights:
Path Lights: Space path lights evenly along walkways, driveways, and garden paths. A good rule of thumb is to place them about 5 to 8 feet apart.
Spotlights: Position spotlights at the base of trees, statues, or architectural features, aiming the light upward to create dramatic shadows and highlights.
Flood Lights: Place flood lights at the edges of large garden beds or along the foundation of your home to provide broad illumination.
Deck and Step Lights: Install deck and step lights along the edges of stairs and around the perimeter of your deck or patio to enhance safety and ambiance.
Step 4: Install the Lights
With your layout planned and fixtures selected, it’s time to install your lights. Follow these general steps:
1. Mark the Locations: Use stakes or flags to mark the locations where each light will be installed.
2. Dig Trenches: For wired lights, dig trenches for the wiring. Make sure the trenches are deep enough to bury the wires safely.
3. Run the Wires: Run the wires through the trenches, connecting each light fixture according to the manufacturer’s instructions.
4. Install the Fixtures: Securely install each light fixture in its designated location. Ensure they are stable and properly oriented.
5. Test the System: Before burying the wires, test the entire lighting system to make sure all fixtures are working correctly.
6. Bury the Wires: Once you’ve confirmed that everything is working, bury the wires and cover the trenches.
Step 5: Fine-Tune the Lighting
After installing your lights, take the time to fine-tune the lighting effects. Adjust the angles of spotlights and floodlights to achieve the desired illumination. Make sure path lights are evenly spaced and provide adequate coverage. Walk around your property at night to ensure there are no dark spots or overly bright areas.
Step 6: Add Smart Controls
For added convenience and energy efficiency, consider adding smart controls to your landscape lighting system. DEKOR®’s DEKORKONNECT™ WiFi Light Controller allows you to control your lights remotely using your smartphone. You can set schedules, dim the lights, and even control individual fixtures, giving you complete control over your landscape lighting.
Step 7: Maintain Your Lighting
Regular maintenance is essential to keep your landscape lighting looking and performing its best. Here are some maintenance tips:
Clean the Fixtures: Periodically clean the light fixtures to remove dirt, debris, and cobwebs. This will ensure they continue to provide optimal illumination.
Check for Damage: Inspect the fixtures and wiring for any signs of damage or wear. Replace any damaged components promptly.
Replace Bulbs: All of DEKOR®’s LED lights have a long lifespan, but eventually, they may need to be replaced. Keep an eye on the brightness and color of your lights, and replace any bulbs that are dimming or flickering.
Conclusion
Laying out landscape lighting can seem like a daunting task, but with careful planning and the right products, you can create a beautifully illuminated outdoor space. DEKOR® Lighting offers a range of high-quality, energy-efficient LED fixtures that make it easy to achieve professional results. By following these steps and using DEKOR® products, you can enhance your home’s exterior, improve security, and create a welcoming ambiance that you’ll enjoy for years to come.